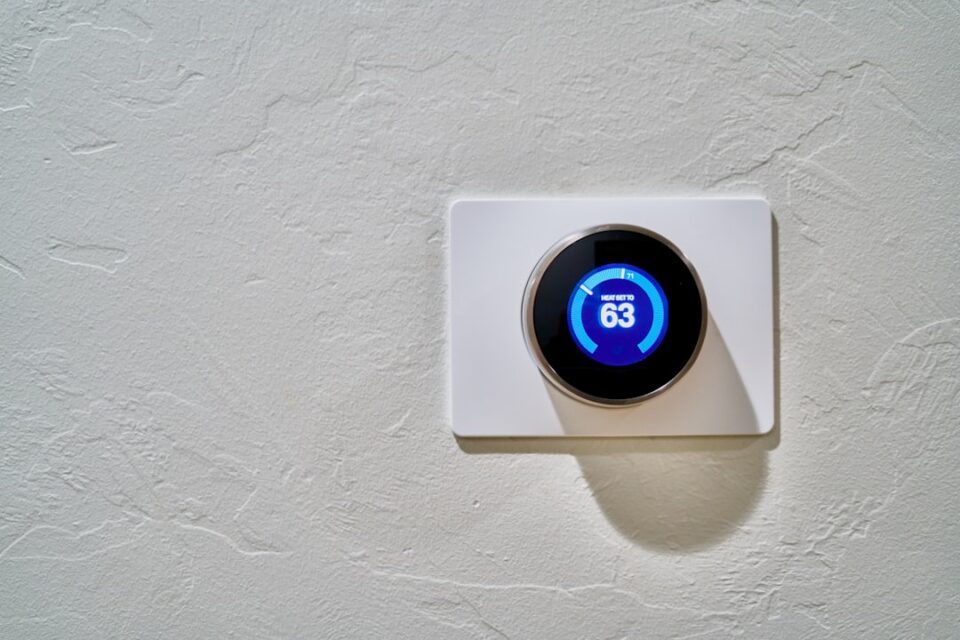
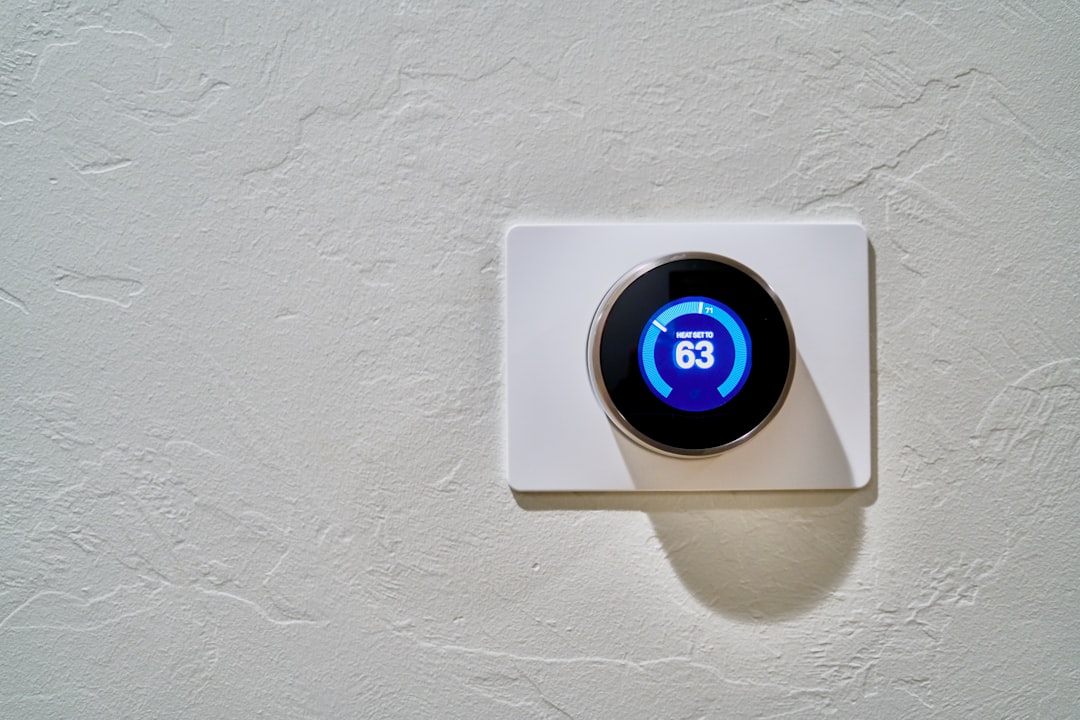
smart thermostat installation sounds like a small upgrade until you live with it for a few days and notice how it changes routines, comfort, and the way your HVAC system fits your household. This guide takes you from planning and wiring to setup, fine‑tuning, and seasonal care so the project feels calm, safe, and worth the effort.
If you like to compare upgrades side by side, I keep a living reference of household tech projects on FamilyTechy. Use it when you want a quick checklist or a broader context for where this task sits among other home improvements.
smart thermostat installation
In most homes, the thermostat is the nerve center for heating and cooling. It measures temperature in a single location, makes simple decisions based on settings, and tells the equipment when to run. A smart model keeps that core role but adds better timing tools, remote access, occupancy awareness, gentle data, and, in many cases, support for zone sensors. The goal is not to build a surveillance panel; it is to make the system easier to live with and less dependent on memory.
When people talk about smart, they often mean an app and a shiny screen. I prefer to think about realities: wiring differences, HVAC types, how the household actually uses rooms, and who touches the controls. A good outcome comes from matching the thermostat to the equipment and the family’s habits, not from the most famous brand name. With that in mind, this guide focuses on decisions and steps you can apply regardless of which model you buy.
Three principles guide the whole process:
- Fit before features: confirm the wiring and system type first, then shop models.
- Simple beats clever: a schedule that everyone understands is more valuable than a maze of options.
- Quiet upkeep wins: a 10‑minute seasonal check tends to do more good than a dramatic overhaul once a year.
Follow those and you will avoid most headaches, whether your home uses a gas furnace and AC, a heat pump, a boiler with radiators, or something more unusual.
Why this upgrade matters for daily life
A thermostat sits at the intersection of comfort, cost, and habit. Older units put almost all the burden on memory: someone turns it down before work, someone else turns it up after dinner, and whoever remembers first decides how the house feels. Modern scheduling and presence‑aware features shift part of that work into the background. That does not make the HVAC system magic; it simply reduces the number of times you need to walk to a wall panel or argue about settings.
The benefits are subtle and add up over time:
- Morning warmth or cooling lines up with wake‑up times without extra button presses.
- Midday setpoints can dip when the house is empty and return before people get home.
- Room sensors nudge the system based on where people actually spend time, not just the hallway.
- Remote access helps when plans change, weather swings, or guests arrive unexpectedly.
There is also a small planning bonus. Log screens and history charts show when the system runs and how long it takes to reach a setpoint. Those clues help you tune schedules and spot odd behavior. You do not need to check them daily—think of it like a dashboard light you glance at once in a while to make small, useful adjustments.
Choosing the right model for your HVAC and home
Before you fall in love with a glossy interface, match the model to your equipment and routines. The best thermostat for a single‑stage furnace and basic central air may not be the right one for a two‑stage heat pump with auxiliary heat or a boiler with radiant zones. Start with fit, then move to features.
Key selection factors:
- HVAC type and stages: Single‑stage, multi‑stage, heat pump (with or without auxiliary heat), dual fuel, boiler, or mini‑split with compatible interface. Read each model’s system compatibility page. If your system is unusual, favor devices with explicit support and clear wiring guidance.
- Power needs: Some devices require a common wire (C‑wire) for steady power. Others offer internal batteries or power‑sharing adapters. A true C‑wire tends to improve stability, but many homes run fine with adapters when installed correctly.
- Controls and schedules: Decide how much complexity you want. A household with consistent hours may prefer simple time blocks. If routines vary daily, look for geofencing, quick “hold” options, or sensor‑directed control.
- App quality and integrations: Read recent user reviews for the app, not just the hardware. Check whether the thermostat integrates with the voice, home, or security system you actually use—and whether that integration adds real value.
- Sensor support: If upstairs rooms run warmer, or a home office needs special attention, support for remote temperature and occupancy sensors can matter more than new themes or animations.
- Display readability and accessibility: Big numbers, clear labels, and a straightforward UI matter if more than one person adjusts the thermostat.
Shortlist two or three models that fit your system type and power situation, then pick on app experience and sensor support. If all else is equal, choose the one that will be easiest for the entire household to understand.
Compatibility and wiring checks before you buy
A 10‑minute wiring check saves more time than any other step. Take the current thermostat’s faceplate off and snap a clear photo of the terminals and wire labels. Wire color helps, but the terminal letters matter more because older installs can reuse colors in surprising ways.
What to look for:
- Terminal letters: Common ones include R (power), C (common), W (heat), Y (cool), G (fan), O/B (heat pump reversing valve), and Aux/E (auxiliary heat or emergency heat). Zone and boiler systems may add others.
- Presence of a C‑wire: If you see a wire on C, great. If not, check the air handler or furnace board to see if a C terminal exists. Sometimes a spare conductor in the cable can be used for C. If not, consider a thermostat that includes an adapter or plan to run a new common wire.
- System type clues: Labels like O/B, Aux, or E often indicate a heat pump. A jumper between Rc and Rh suggests separate cooling and heating power feeds; most modern smart bases account for that internally.
- Any add‑on modules: Some homes use external power extenders, zone control boards, or humidifier/dehumidifier terminals. Note them now so you can choose a thermostat that supports those accessories or decide to leave them disconnected.
Also check your Wi‑Fi signal where the thermostat sits. If the wall location is far from the router, add a mesh node or reposition the router before setup. A stable connection reduces hiccups during device pairing and keeps the app responsive later.
Finally, look at the wall area. Older round or small rectangular thermostats may expose unpainted sections when removed. If needed, order a trim plate, plan to patch and paint, or choose a faceplate size that covers the old footprint.
Tools, safety, and a calm prep checklist
This is straightforward work for many homes, but it still involves wiring and safety. The best installs feel unrushed.
- Safety first: Turn off power to the furnace/air handler and, if applicable, the outdoor condenser via their breakers. Verify the system is off by adjusting the old thermostat—nothing should start.
- Tools: Small flat and Phillips screwdrivers, a level, needle‑nose pliers, wire labels or tape, a pencil, a drill and the correct anchors if the wall is plaster or masonry, and your phone for photos.
- Labels: Use the thermostat’s included stickers or your own tape and write the terminal letter on each wire before you detach anything.
- Work surface: Place the new base, screws, and any adapters on a towel or tray so nothing rolls away. Keep the manual within reach; installers read them too.
- Time plan: Set aside 60–90 minutes for a careful first install. Most go faster, but a relaxed pace lowers the chance of loose connections or mis‑labels.
Print or save the manufacturer’s compatibility and wiring diagrams on your phone for offline access. Wi‑Fi may be off while you move the router or power cycle the system.
Step‑by‑step path to a clean install
Different brands arrange terminals differently, but the rhythm is similar for most homes. Work methodically and take quick photos after each stage so you have a record if anything slips.
- Shut off power at the breaker panel for the HVAC equipment. Confirm the system will not turn on.
- Photograph and label the existing wires on the old baseplate. Add labels matching terminal letters, not colors.
- Remove the old base and check the wall opening. If the hole is large or ragged, use a trim plate or patch before the new base goes up.
- Attach the new base level to the wall. A straight base looks tidy and avoids button or touch misalignment.
- Connect wires to their new terminals using the manual’s cross‑reference. Tug each wire gently to confirm it is locked. Common pairings include R/Rc/Rh for power (with internal jumpers as needed), C for common, W for heat, Y for cool, G for fan, and O/B for heat pump reversing valves. Auxiliary or emergency heat lines go to Aux/E as directed.
- Add the C‑wire or adapter if your model needs power beyond what two AAA batteries can reliably support. If you use an adapter, follow the included mini‑wiring diagram carefully at both the furnace board and the thermostat base.
- Mount the display/head unit and restore power at the breaker. The screen should wake within a few seconds.
- Run the initial setup wizard, selecting the correct system type, fuel, staging, heat pump orientation (O/B), and accessory options. If anything is unclear, open the help article or video linked in the manual rather than guessing.
- Test mode functions one by one—fan, heat, and cool. Many thermostats include a guided test that runs each system briefly. Confirm that heating delivers warm air and cooling delivers cool air. If air flows but temperature changes lag, allow a few minutes; equipment often has short built‑in delays.
- Connect Wi‑Fi and sign in to the app. Verify that changes made on the wall appear in the app and vice versa.
Tips for common scenarios:
- No C‑wire: If your model can power share, enable that setting and watch for any short‑cycling or display flicker during the first week. If symptoms appear, consider the included adapter kit or running a new common conductor from the furnace board.
- Heat pump with Aux/E heat: Pay extra attention to O/B settings. The wizard usually asks whether the reversing valve is energized in heating or cooling mode. The wrong choice makes modes feel reversed.
- Boiler or radiant heat: Many smart thermostats work with boiler relays, but consult the manual for limitations on high‑voltage systems. If your old thermostat has a 120/240‑volt label, stop and call a qualified professional because most consumer smart models are designed for low voltage (24VAC) control.
- Humidifier/dehumidifier control: If your home uses these accessories, check that your thermostat supports the specific control method (two‑wire, 24VAC, or dry contact). You may need an extra module.
App setup, schedules, sensors, and presence features
The wall work takes an hour; the payoff comes from a thoughtful setup in the app. Start simple, then adjust after a week of normal living.
Build a basic schedule with 3–4 blocks per day:
- Wake: A comfortable setpoint when people get up.
- Day: A wider comfort band, especially if rooms are empty.
- Evening: Pull the comfort band back toward your preferred living temperature.
- Sleep: A gentle drift cooler in summer or slightly cooler/warmer in winter, depending on household preference and bedding.
After a week, review history charts. Notice how long it takes to reach each setpoint and whether blocks are too tight or too loose. Adjust one item at a time so you can see the effect.
Presence tools worth exploring:
- Geofencing: Pairs your phone’s location with a home/away setting. Use it if routines vary, but add a margin so a quick walk around the block does not flip the system too often.
- Room sensors: Place them at chest height in spaces where people linger. Avoid direct sun, exterior walls, and vents. If bedrooms run warm, telling the thermostat to favor a bedroom sensor at night can help the system focus on comfort where it matters.
- Adaptive recovery or “smart preheat/precool”: Lets the system start early so the room hits the target at the scheduled time. This can smooth transitions without you needing to guess warm‑up or cool‑down durations.
Notifications are helpful in moderation. Enable critical ones like extreme indoor temperature warnings, low sensor battery, or connectivity issues. Turn off daily summaries unless you genuinely use them. The goal is a calm system that nudges you only when attention is useful.
Comfort tuning and realistic energy habits
People often ask if a smart thermostat will slash utility bills. The honest answer is that it can support better habits and make small changes easier to maintain. The largest gains usually come from aligning temperatures with real occupancy and avoiding long, unnecessary runs while nobody is home.
Practical tuning ideas:
- Start small: Adjust setpoints by 1–2 degrees for daytime away blocks and see how the house feels for a week.
- Reduce overshoot: If the system blasts past your setpoint, check whether the thermostat uses a learning algorithm. You can often choose a steadier control style in settings.
- Use fan circulation sparingly: Some thermostats offer a periodic fan mode to even out temperatures. Try a low cycle like 10 minutes per hour. If it stirs up dust or noise, scale back.
- Leverage sensors for fairness: If one area runs warm, let that room’s sensor carry more weight during the hours people spend there. Many apps let you choose which sensors participate in each time block.
- Consider equipment limits: Heat pumps and multi‑stage systems respond differently from single‑stage gas furnaces. Steady, gentle changes tend to feel better and avoid unnecessary switching between stages.
Think of the thermostat as a tool for consistency rather than a silver bullet. A well‑chosen schedule that sticks is more valuable than chasing an aggressive number that the family overrides every afternoon.
Common mistakes and practical troubleshooting
Most issues trace back to a skipped step or a tiny mismatch between the thermostat’s settings and the HVAC hardware. Here are patterns and calm ways to resolve them without guesswork.
- Assuming wire color equals function: Colors are not rules. Verify by terminal letter on the old base and, when possible, at the furnace control board.
- Forgetting the breaker: Working with power on adds stress and risk. Turn off the equipment at the breaker, not just at the wall switch.
- Wrong system type in the wizard: If heat turns on during a cooling test or vice versa, revisit the heat pump settings and the O/B selection. That single choice often flips modes.
- No common wire instability: If the display reboots or clicks, enable the thermostat’s power‑sharing option (if available) or add the adapter recommended by the manufacturer. In some homes, running a dedicated C‑wire is the cleanest fix.
- Wi‑Fi dropouts: If the app lags or the thermostat falls offline, check signal strength at the wall, then move a mesh node closer rather than blaming the device.
- Uneven rooms despite sensors: Confirm sensor placement (not near windows, lamps, or vents) and whether the schedule actually uses those sensors during the hours you care about.
- Short heat or cool cycles: Check for a loose wire, especially G (fan) or Y (cooling). Also review any cycle‑rate settings in the app; some thermostats let you choose gentler behavior.
Quick, systematic checks beat random menu toggles. Use the manual’s troubleshooting flow if available. If you observe strange behavior—like heat and cool fighting each other—turn the system off, verify wiring, and re‑run the equipment setup to confirm each terminal assignment and mode orientation.
When to pause and bring in a pro
Many installs are DIY friendly, but there are clear signals that outside help may be the better move:
- High‑voltage control (120/240V): If your old thermostat connects to line voltage rather than low voltage, most consumer smart models are not a match. An electrician or HVAC technician can recommend a compatible control strategy or a different product category.
- Complex heat pump configurations: Dual‑fuel setups, rare reversing‑valve arrangements, or systems with advanced defrost logic can be tricky. A tech who works with your equipment brand every day will recognize the right settings quickly.
- Boilers with zone valves: These can be compatible, but wiring differs from forced‑air systems. If multiple thermostats and zone controllers interconnect, professional guidance can save hours.
- Damaged or brittle wiring: If conductors break when you move them or insulation crumbles, stop. A professional can pull new cable and secure connections safely.
If you hire help, ask the installer to show you the final wiring photo, the equipment type selected in the menu, and any advanced options they set (cycle rates, heat pump balance, sensor priorities). Take your own photo of the wiring and jot those settings down. That context helps later if something changes after a power outage or firmware update.
Seasonal care that keeps everything steady
A smart thermostat does not demand weekly attention. Still, two short check‑ins per year keep the system aligned with how your home changes across seasons.
- At the start of heating season: Review wake/day/evening/sleep blocks and nudge them to match earlier sunsets and colder mornings. If your thermostat supports adaptive recovery, keep it on so the house hits the target at the right time.
- At the start of cooling season: Revisit daytime away settings and bedroom comfort at night. Consider a fan circulation cycle if your home develops temperature layers on hot afternoons.
- Batteries and firmware: If your model has batteries, replace them proactively once a year. Accept firmware updates after skimming release notes for stability and minor feature additions.
- Sensor housekeeping: Wipe dust off sensors and the wall unit with a soft dry cloth. Check that nothing new blocks airflow near the thermostat.
- Filter reminders: If your thermostat can track filter life by runtime, set a gentle reminder. A clean filter supports airflow and keeps equipment happier.
Think of this as a light routine. Ten minutes in the fall and ten minutes in the spring is usually enough to keep comfort predictable.
A finish checklist and ideas for what’s next
Before you call the project done, run through a quick checklist to confirm the basics:
- Power back on and display stable, with no random reboots.
- Heating, cooling, and fan tests behave as expected.
- App and wall unit mirror each other’s changes promptly.
- Schedule fits real life; any learning mode is settled and helpful.
- Sensor placement makes sense and matches schedule blocks.
- Wi‑Fi signal at the thermostat is solid.
- Everyone who uses the space can read and change the setpoint.
If you enjoy the project and want to extend comfort control, consider:
- Additional sensors: Bedrooms, nurseries, and home offices often benefit most.
- Smart shades or ceiling fans: Coordinated shading and gentle air movement can reduce how often the HVAC runs during shoulder seasons.
- HVAC service reminders: Add a calendar event for spring and fall checkups so equipment stays in good shape.
Most of all, give the system a couple of weeks to settle into your household’s rhythm. Adjust one setting at a time and let it ride. Smart gear earns its keep when it fades into the background and the house simply feels right.